
4 simple DIY planners plus ideas to customize any planner
Hello friends! Since it's a new year and many of us are setting up our planners, I thought I'd share some of mine from the last few years. As convenient as it would seem to just keep everything in my phone, I'm a paper girl. I need to see the big picture, and love love love planners. I know many of you can relate! In the planner community, I guess I'm kind of a minimalist when it comes to decorating. I love stickers and stamps, washi tape and colored pens, and I enjoy being creative, but my style is to keep it simple in my planners. Some weeks have more decorating, and some are just quick scribbles of who has what going on, where and at what time. My favorite pages have lots of writing in various colors of ink.

This is a round up of a few of the planners I've used for the last few years. I'll give you a peek inside each one.
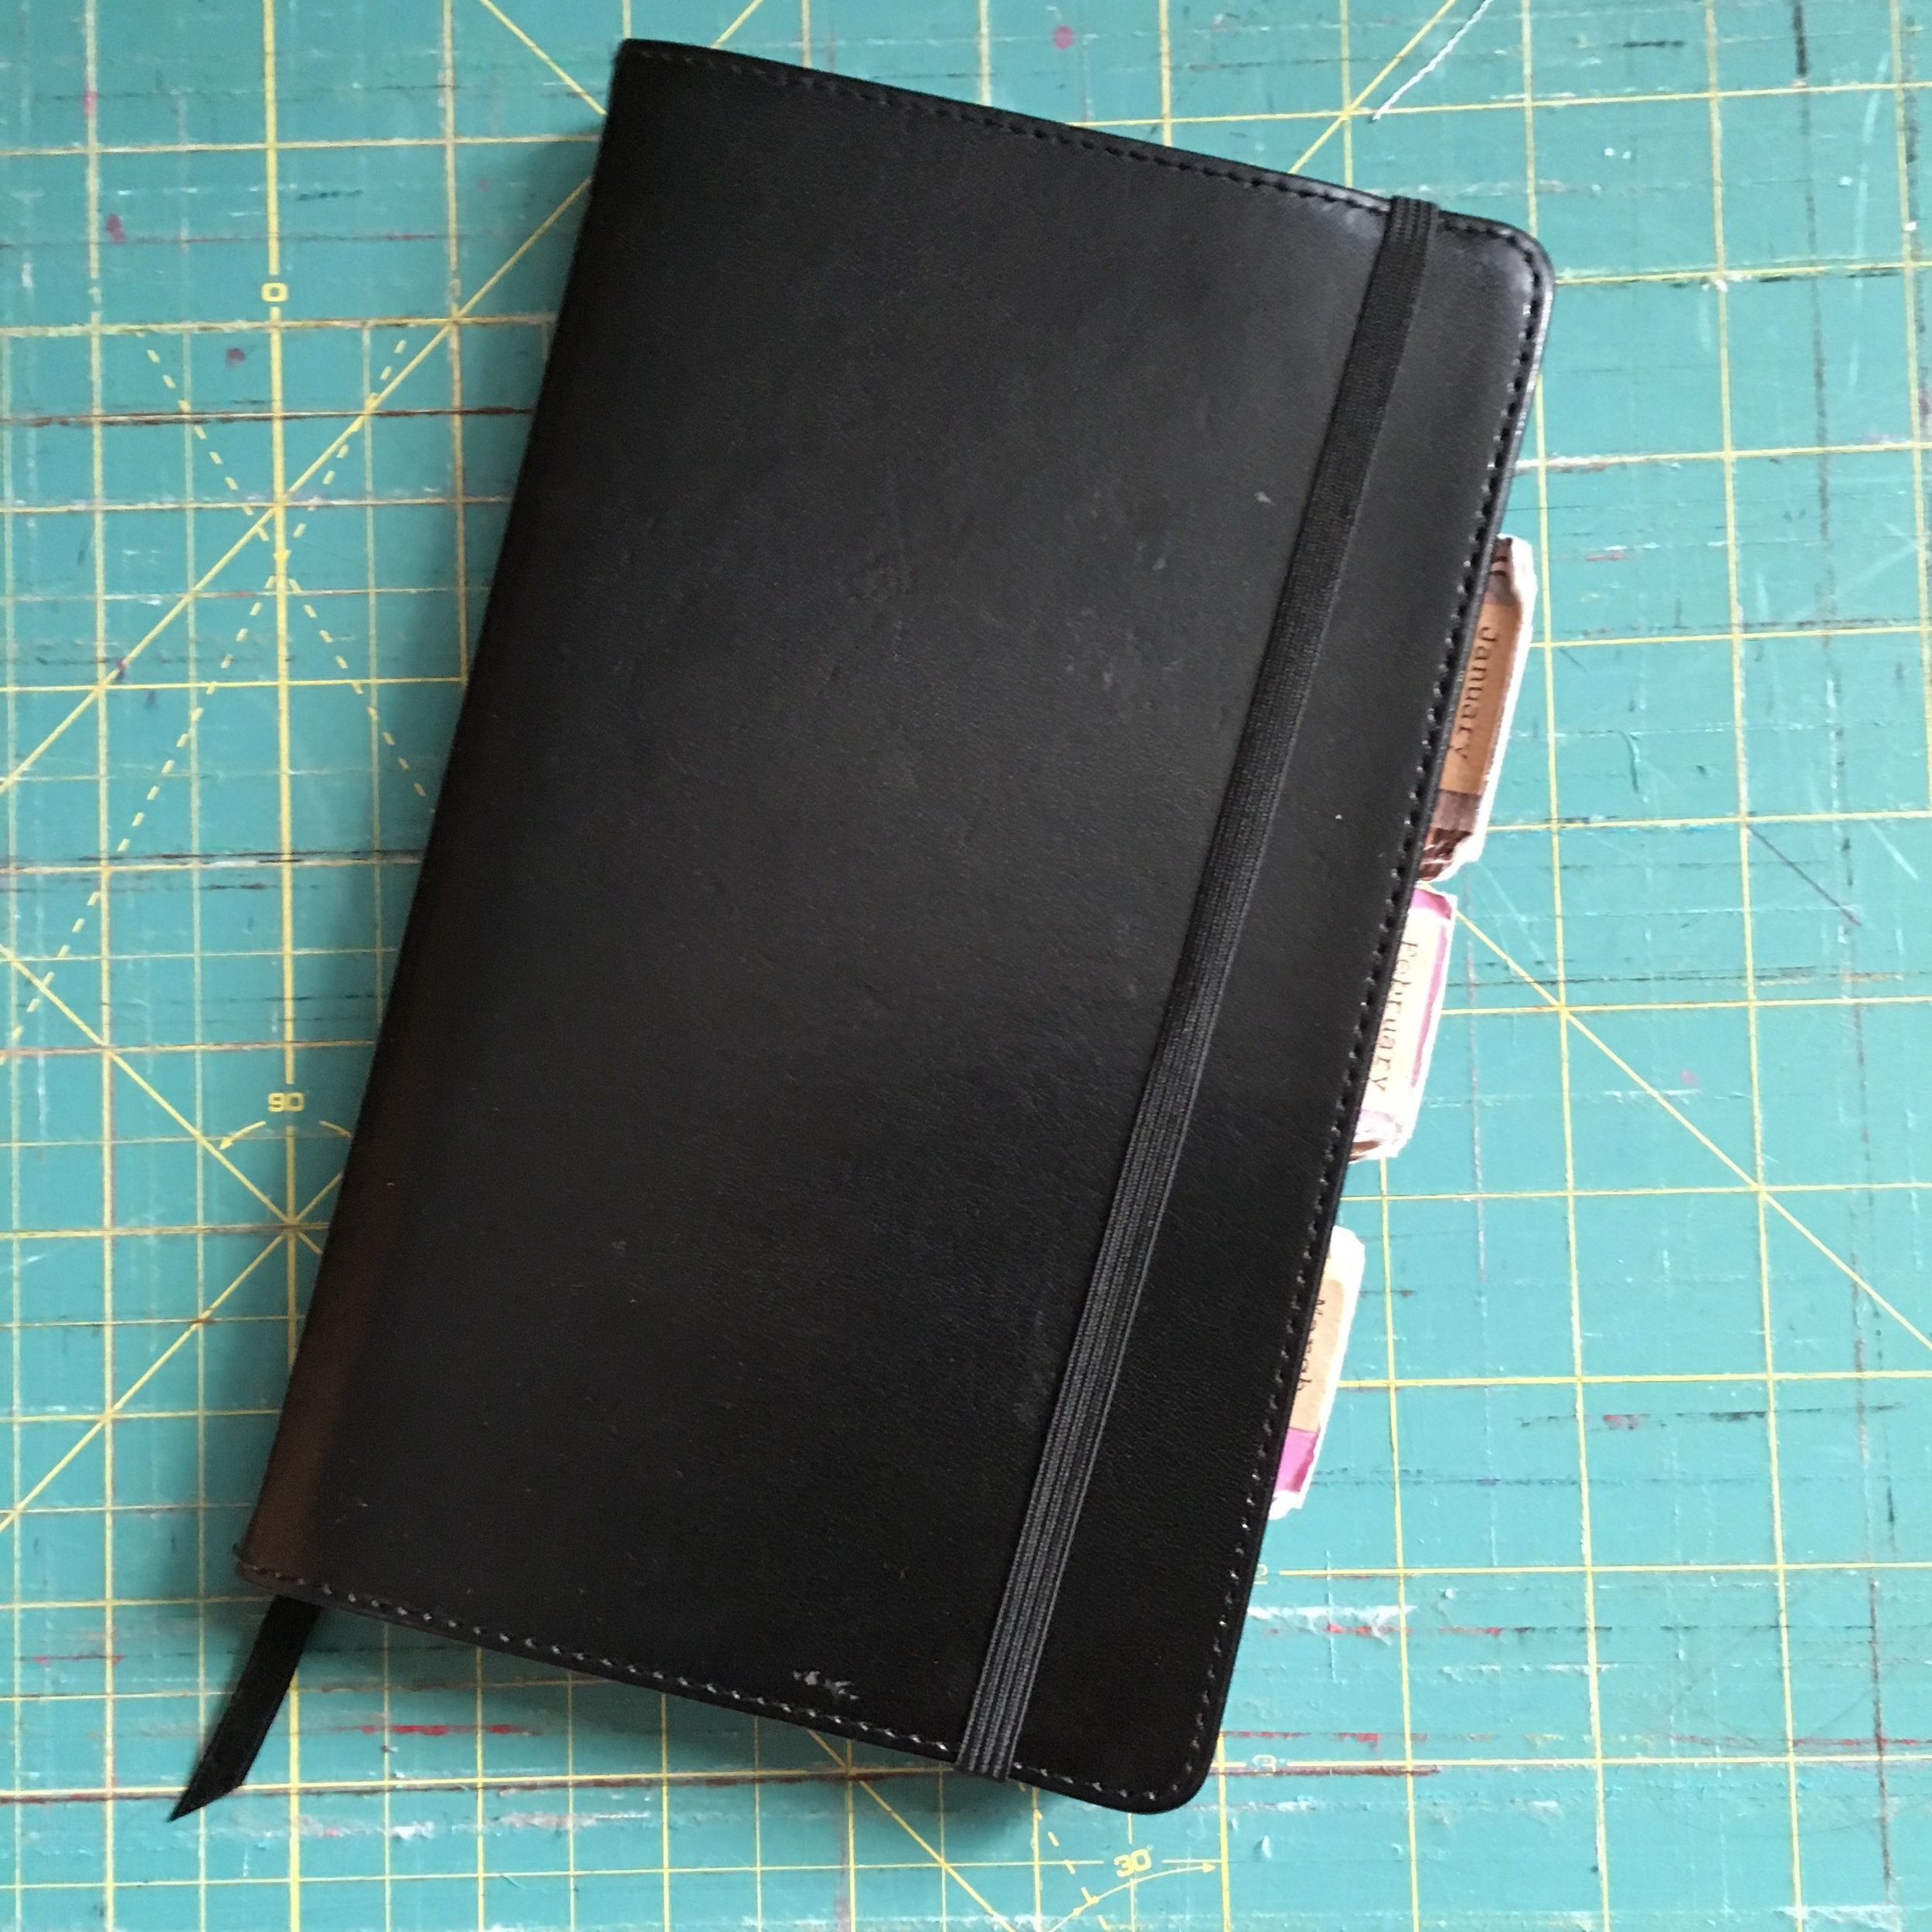
This was one of my first DIY planners. I purchased a kit from A Beautiful Mess (back then the shop was Red Velvet Art). The cardstock monthly dividers were the perfect size for aMoleskine grid notebook , and I loved that it had the elastic band.

This was such a cute kit. There were lots of graphics to cut out and use throughout the planner.

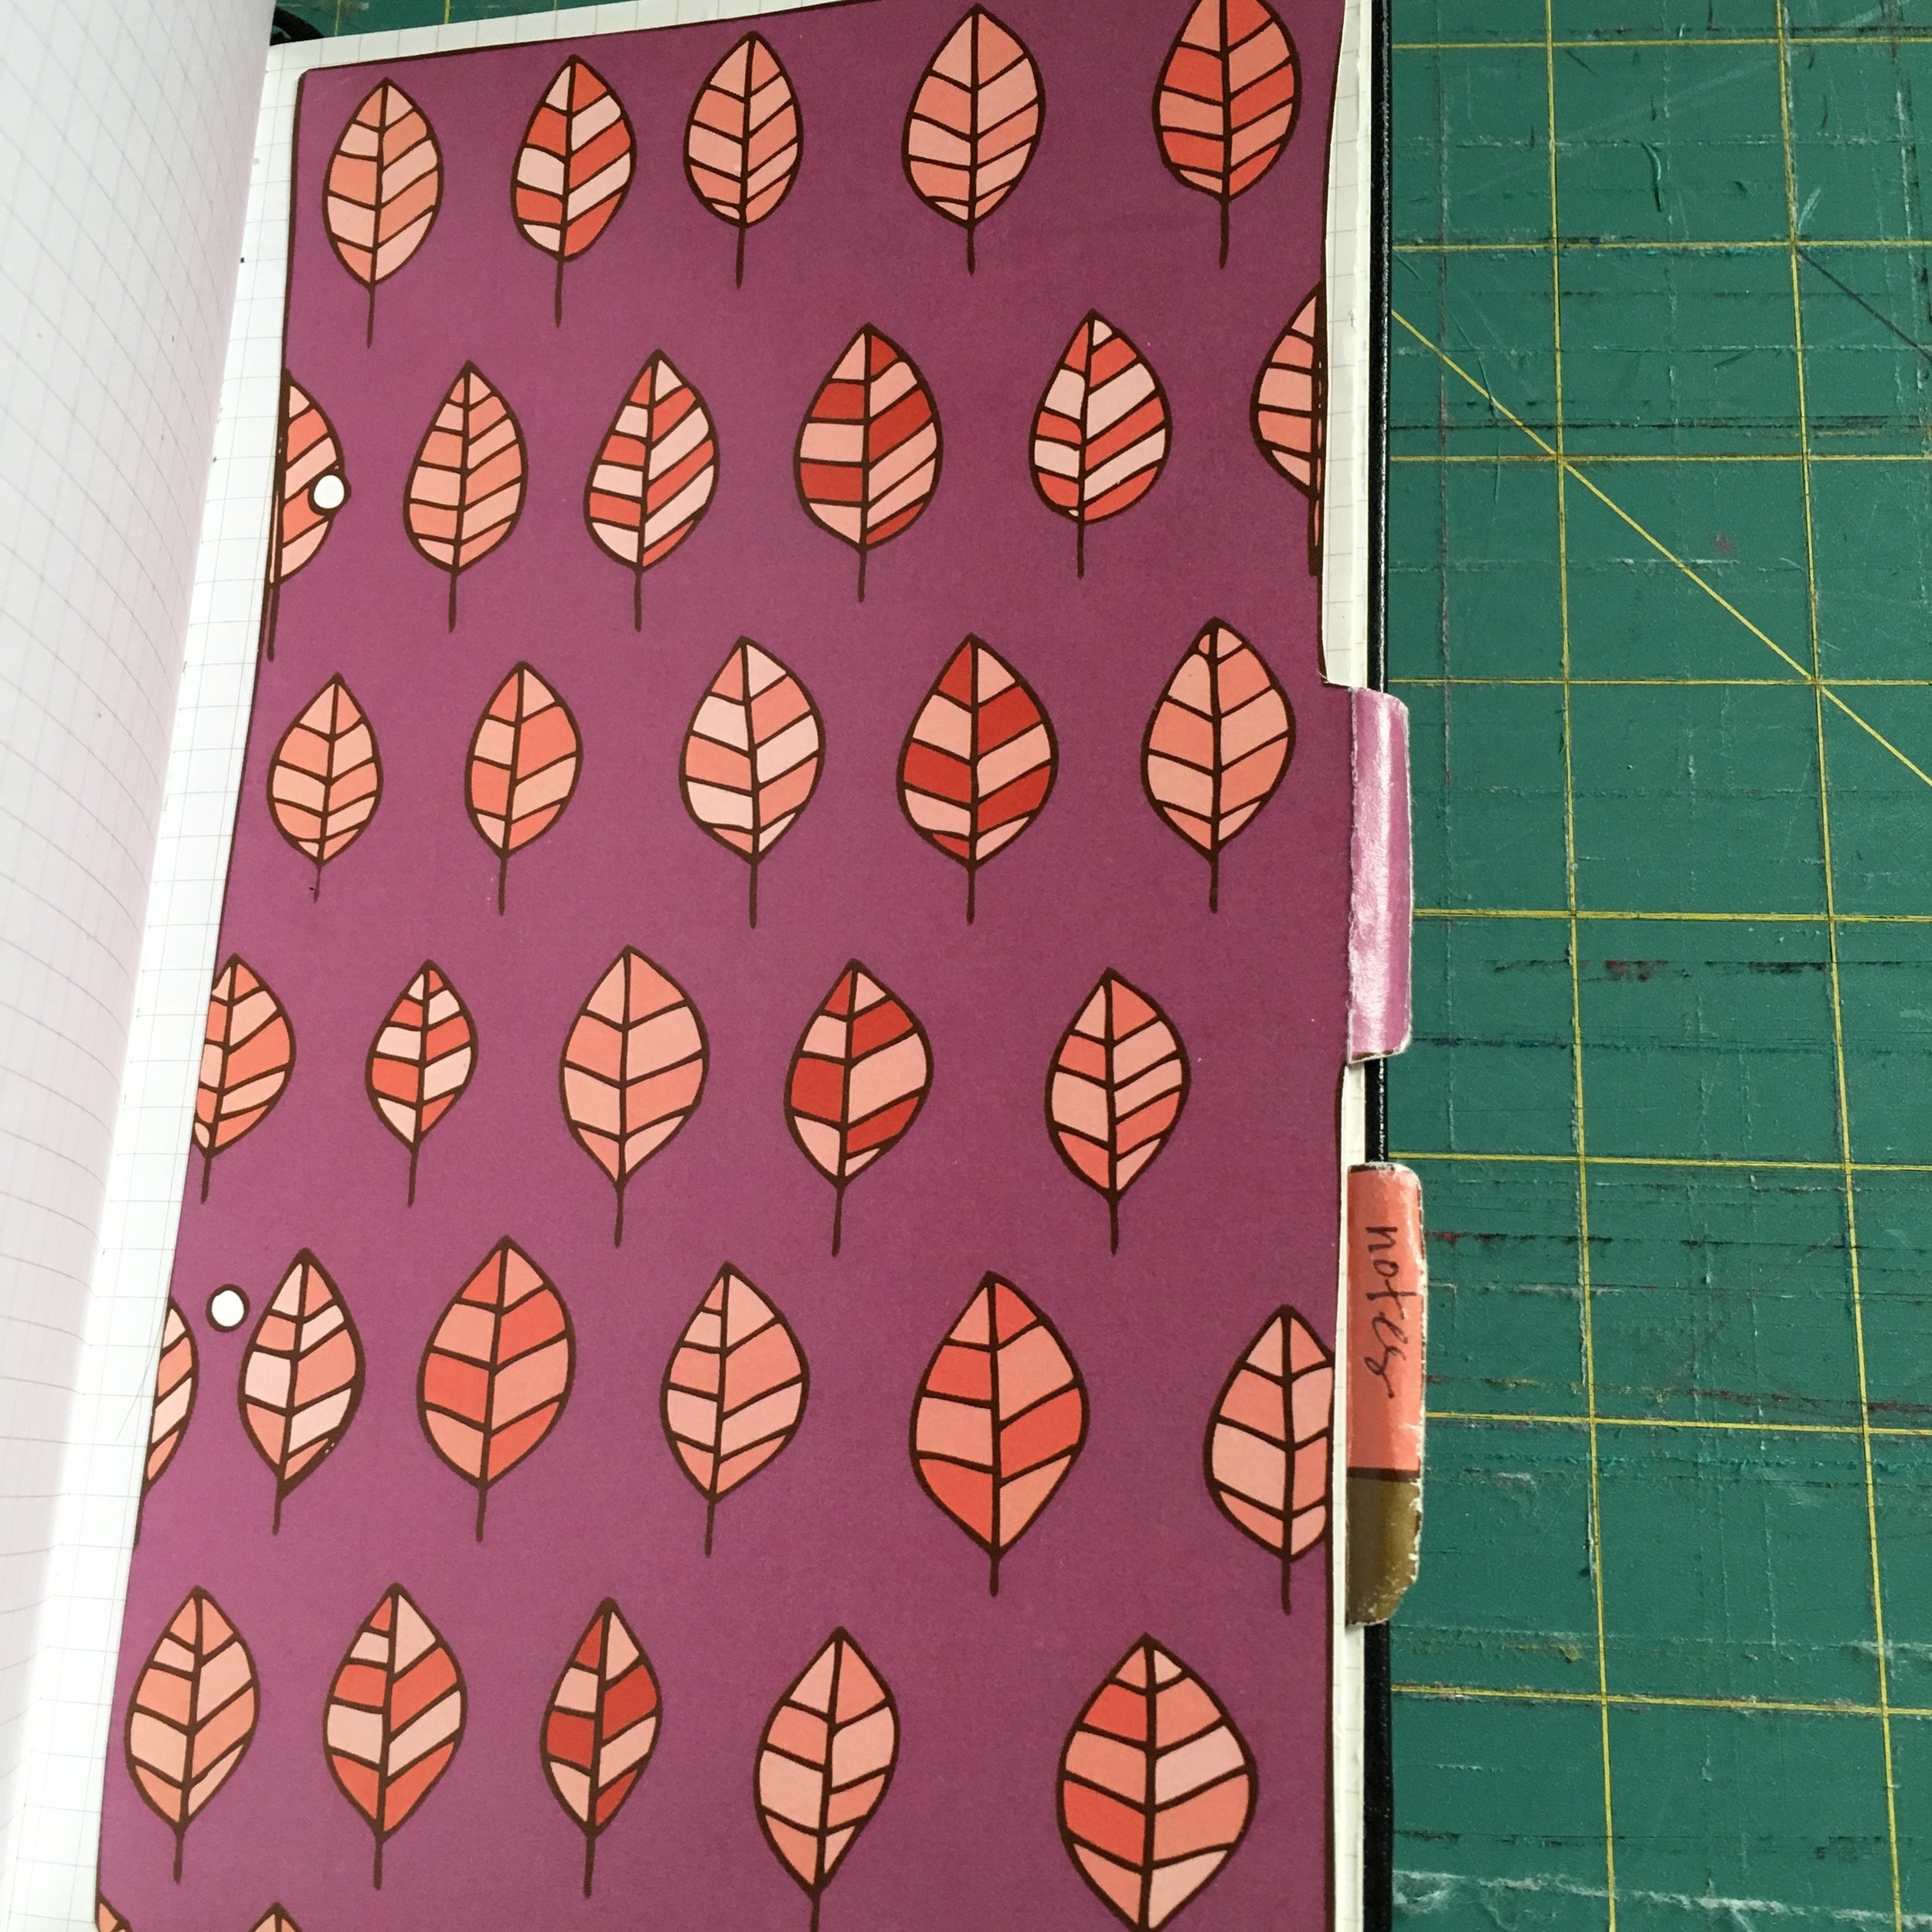

I loved the patterns on the card stock. Really adorable. Unfortunately, I didn't have a laminator or plastic tab stickers to cover my dividers back then, so they didn't hold up super great throughout the year... but it worked, and I love the handmade look, so I didn't mind too much.

The next year, I made my own planner from a graph paper composition book. I enjoyed choosing papers to make the dividers, and drawing the wiggly lines for my weekly spreads. (I did the same in the planner above.. just forgot to take a photo of the pages). I used wood grain contact paper on the cover and on the monthly divider pages.

Once again, the tabs on my dividers were a bit tattered after a few months of use. I should have at least covered them with packing tape or something!
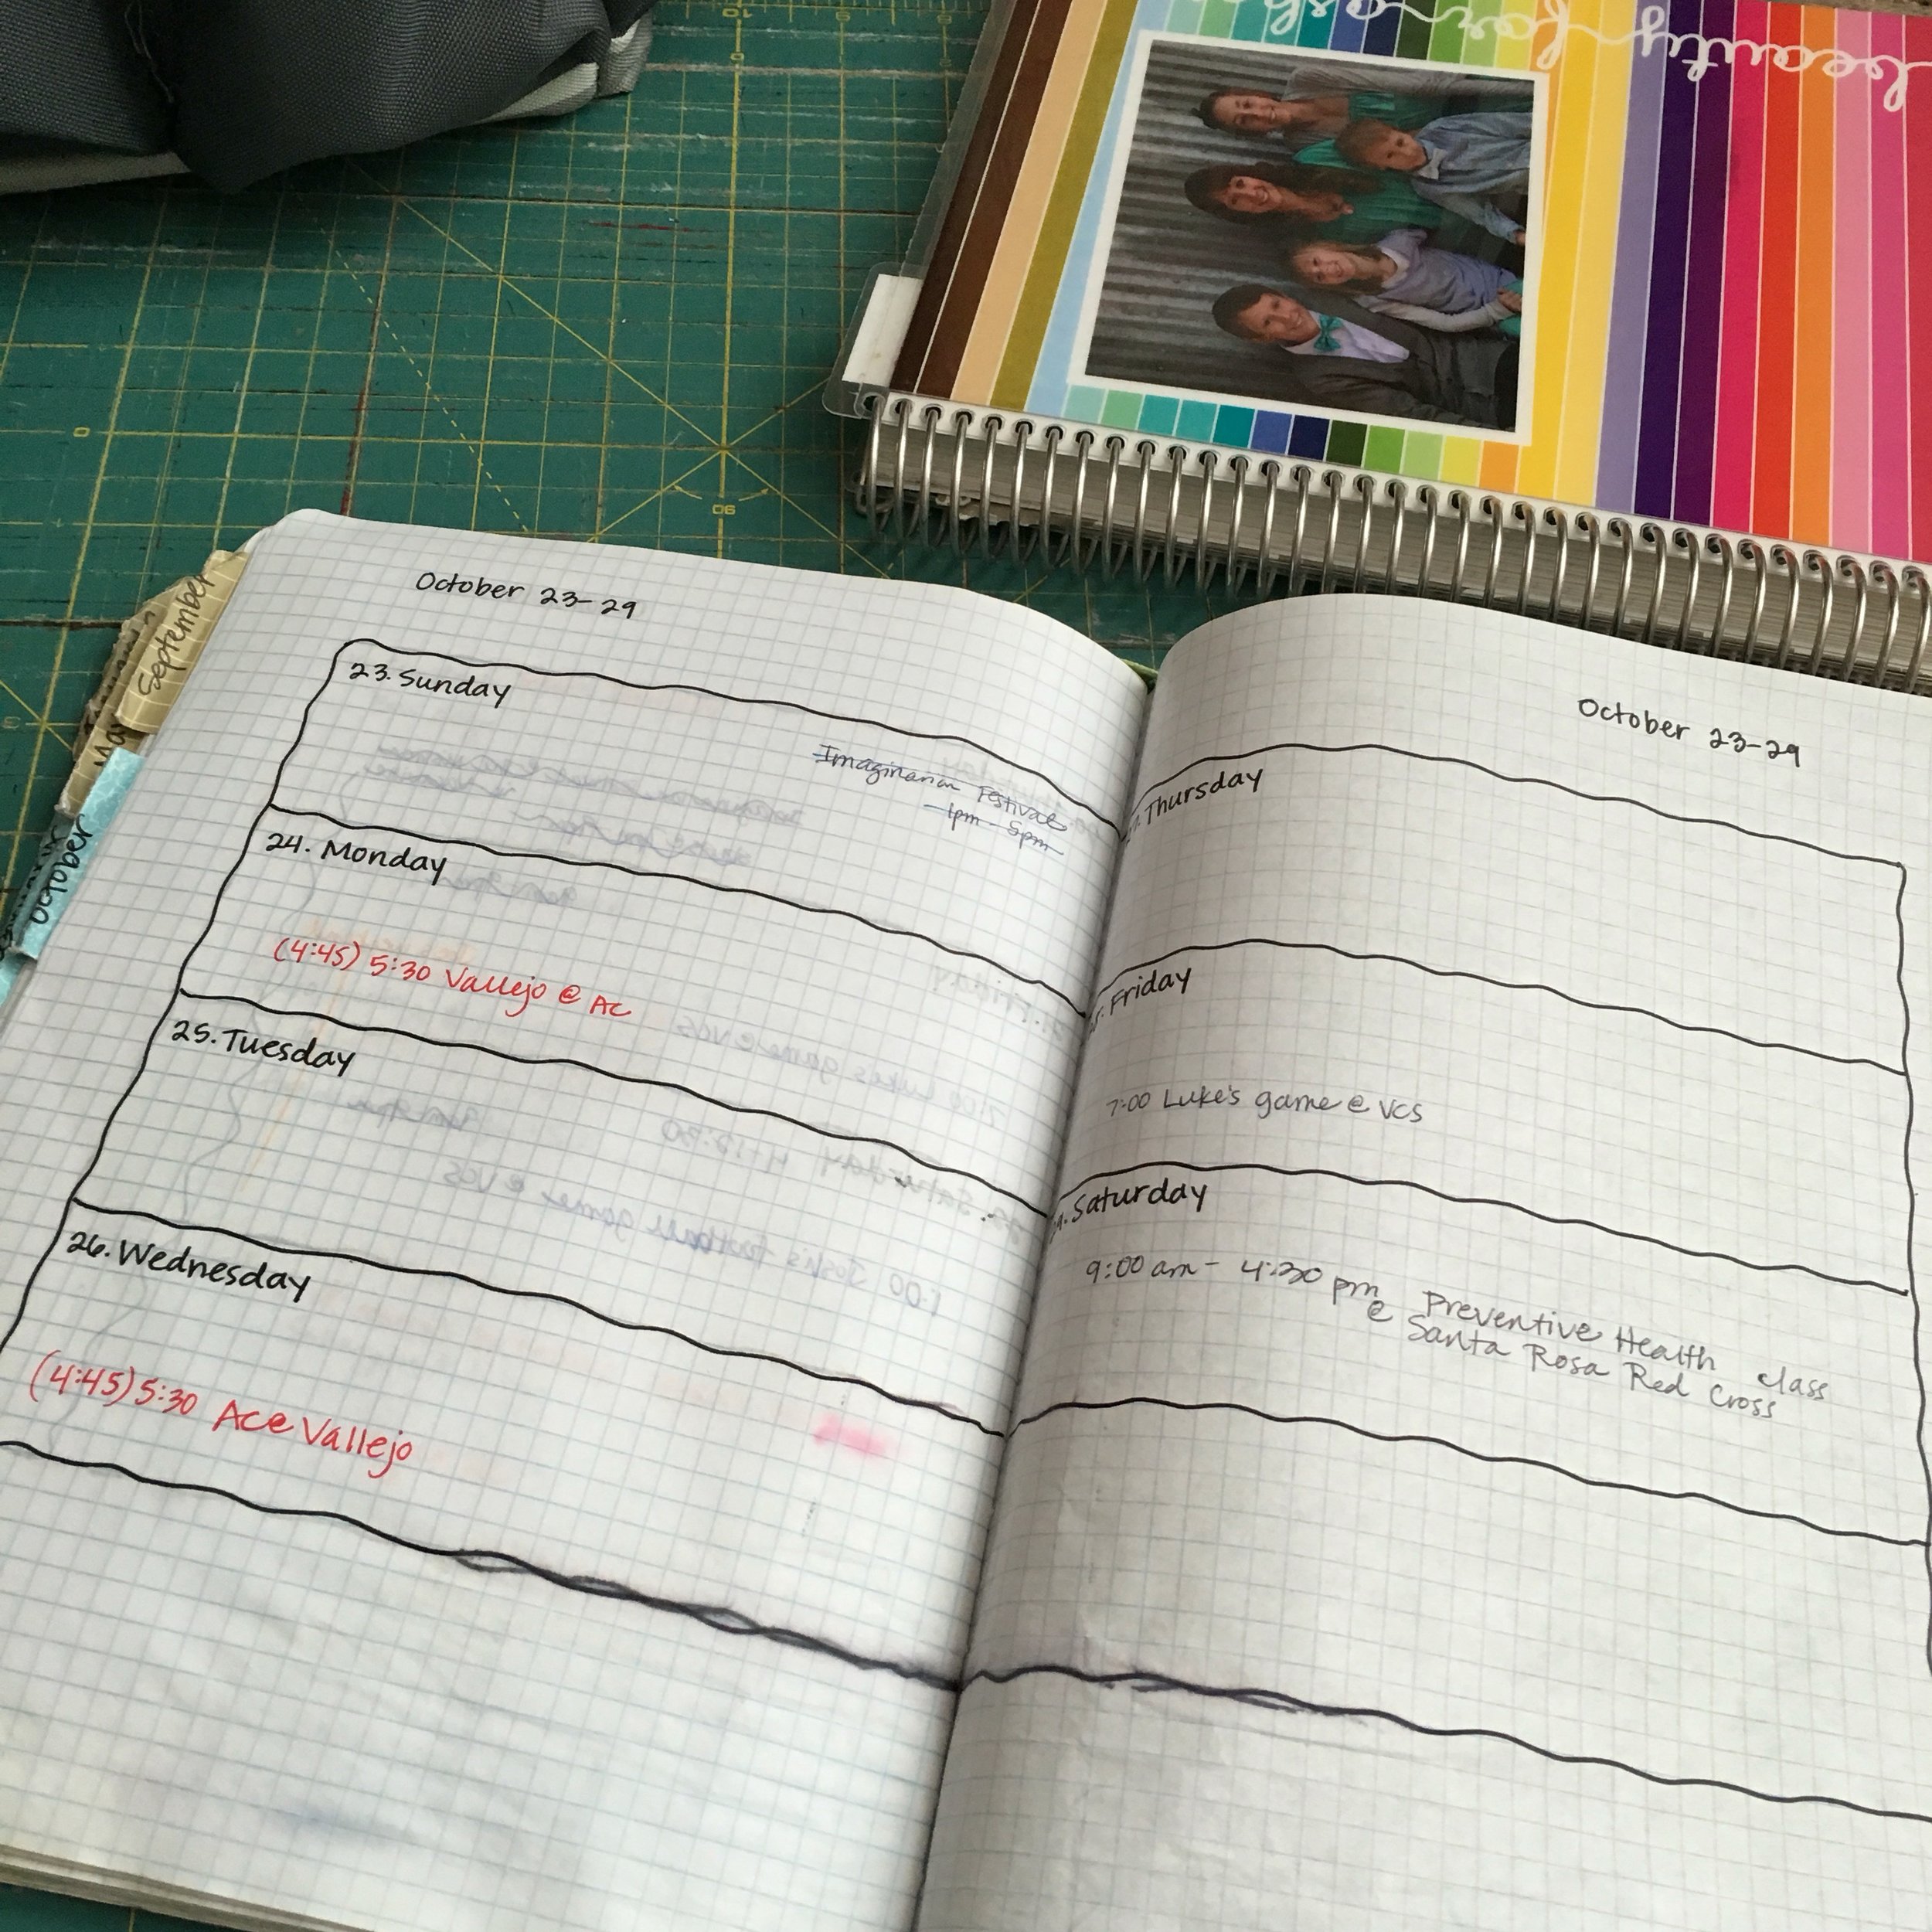
This page was not decorated at all, but flipping through I couldn't help but take a picture of this.. That class I took at the Red Cross... I didn't write it in here, but while I attended the class, my good friends were watching my two younger children. They took them to their nephew's birthday party, and I met up with them there later that day. This nephew of theirs happens to have the same birthday as my daughter. When I arrived at the party, my friend's brother (a single dad, who was an acquaintance) invited me to stay. We stayed and enjoyed the rest of the party. When it was time to pray over the meal, this sweet guy prayed a blessing his son... and for my daughter! And after they sang Happy Birthday to his son and he blew out the candles, they re-lit the candles and sang again for my girl. I was so touched. That was the day I noticed my now husband for the first time. I'll share more of our story another time.. But because I ran across this in my planner, I just had to mention it! :)

The following year, I splurged for the first time on a planner and bought and Erin Condren Life Planner. What an upgrade from the humble DIY planners I'd been using! Absolutely worth every penny. The cover is very sturdy, and the tabs super durable! I also loved that I could customize it. Look at that picture of my babies and me! Love! They were so little! Oh how I love who they are now, but also wish I could go back and spend even more time with them then!

Another reminder of the way things were.. This was such a crazy year, driving all these kids every day! I was working part time at Starbucks, and watching my (then) boyfriend's (now husband) kids after school. My littlest guy wasn't in school yet, and Al's daughter was in kindergarten. My younger daughter went to one elementary school, Al's kids went to another, I had one in middle school and one in high school. Each morning, I would take my two older kids to school, come back home and he'd drop his two off with me.. Then I'd take his two and my girl to school, drop my little guy off at a friend's house, go to work, then start the pick ups. (I also picked up my friend's kids once or twice a week!) They all got out at different times. At the time, I drove a 12 passenger van and was spending about $80 on gas every five days or so. It was nuts!

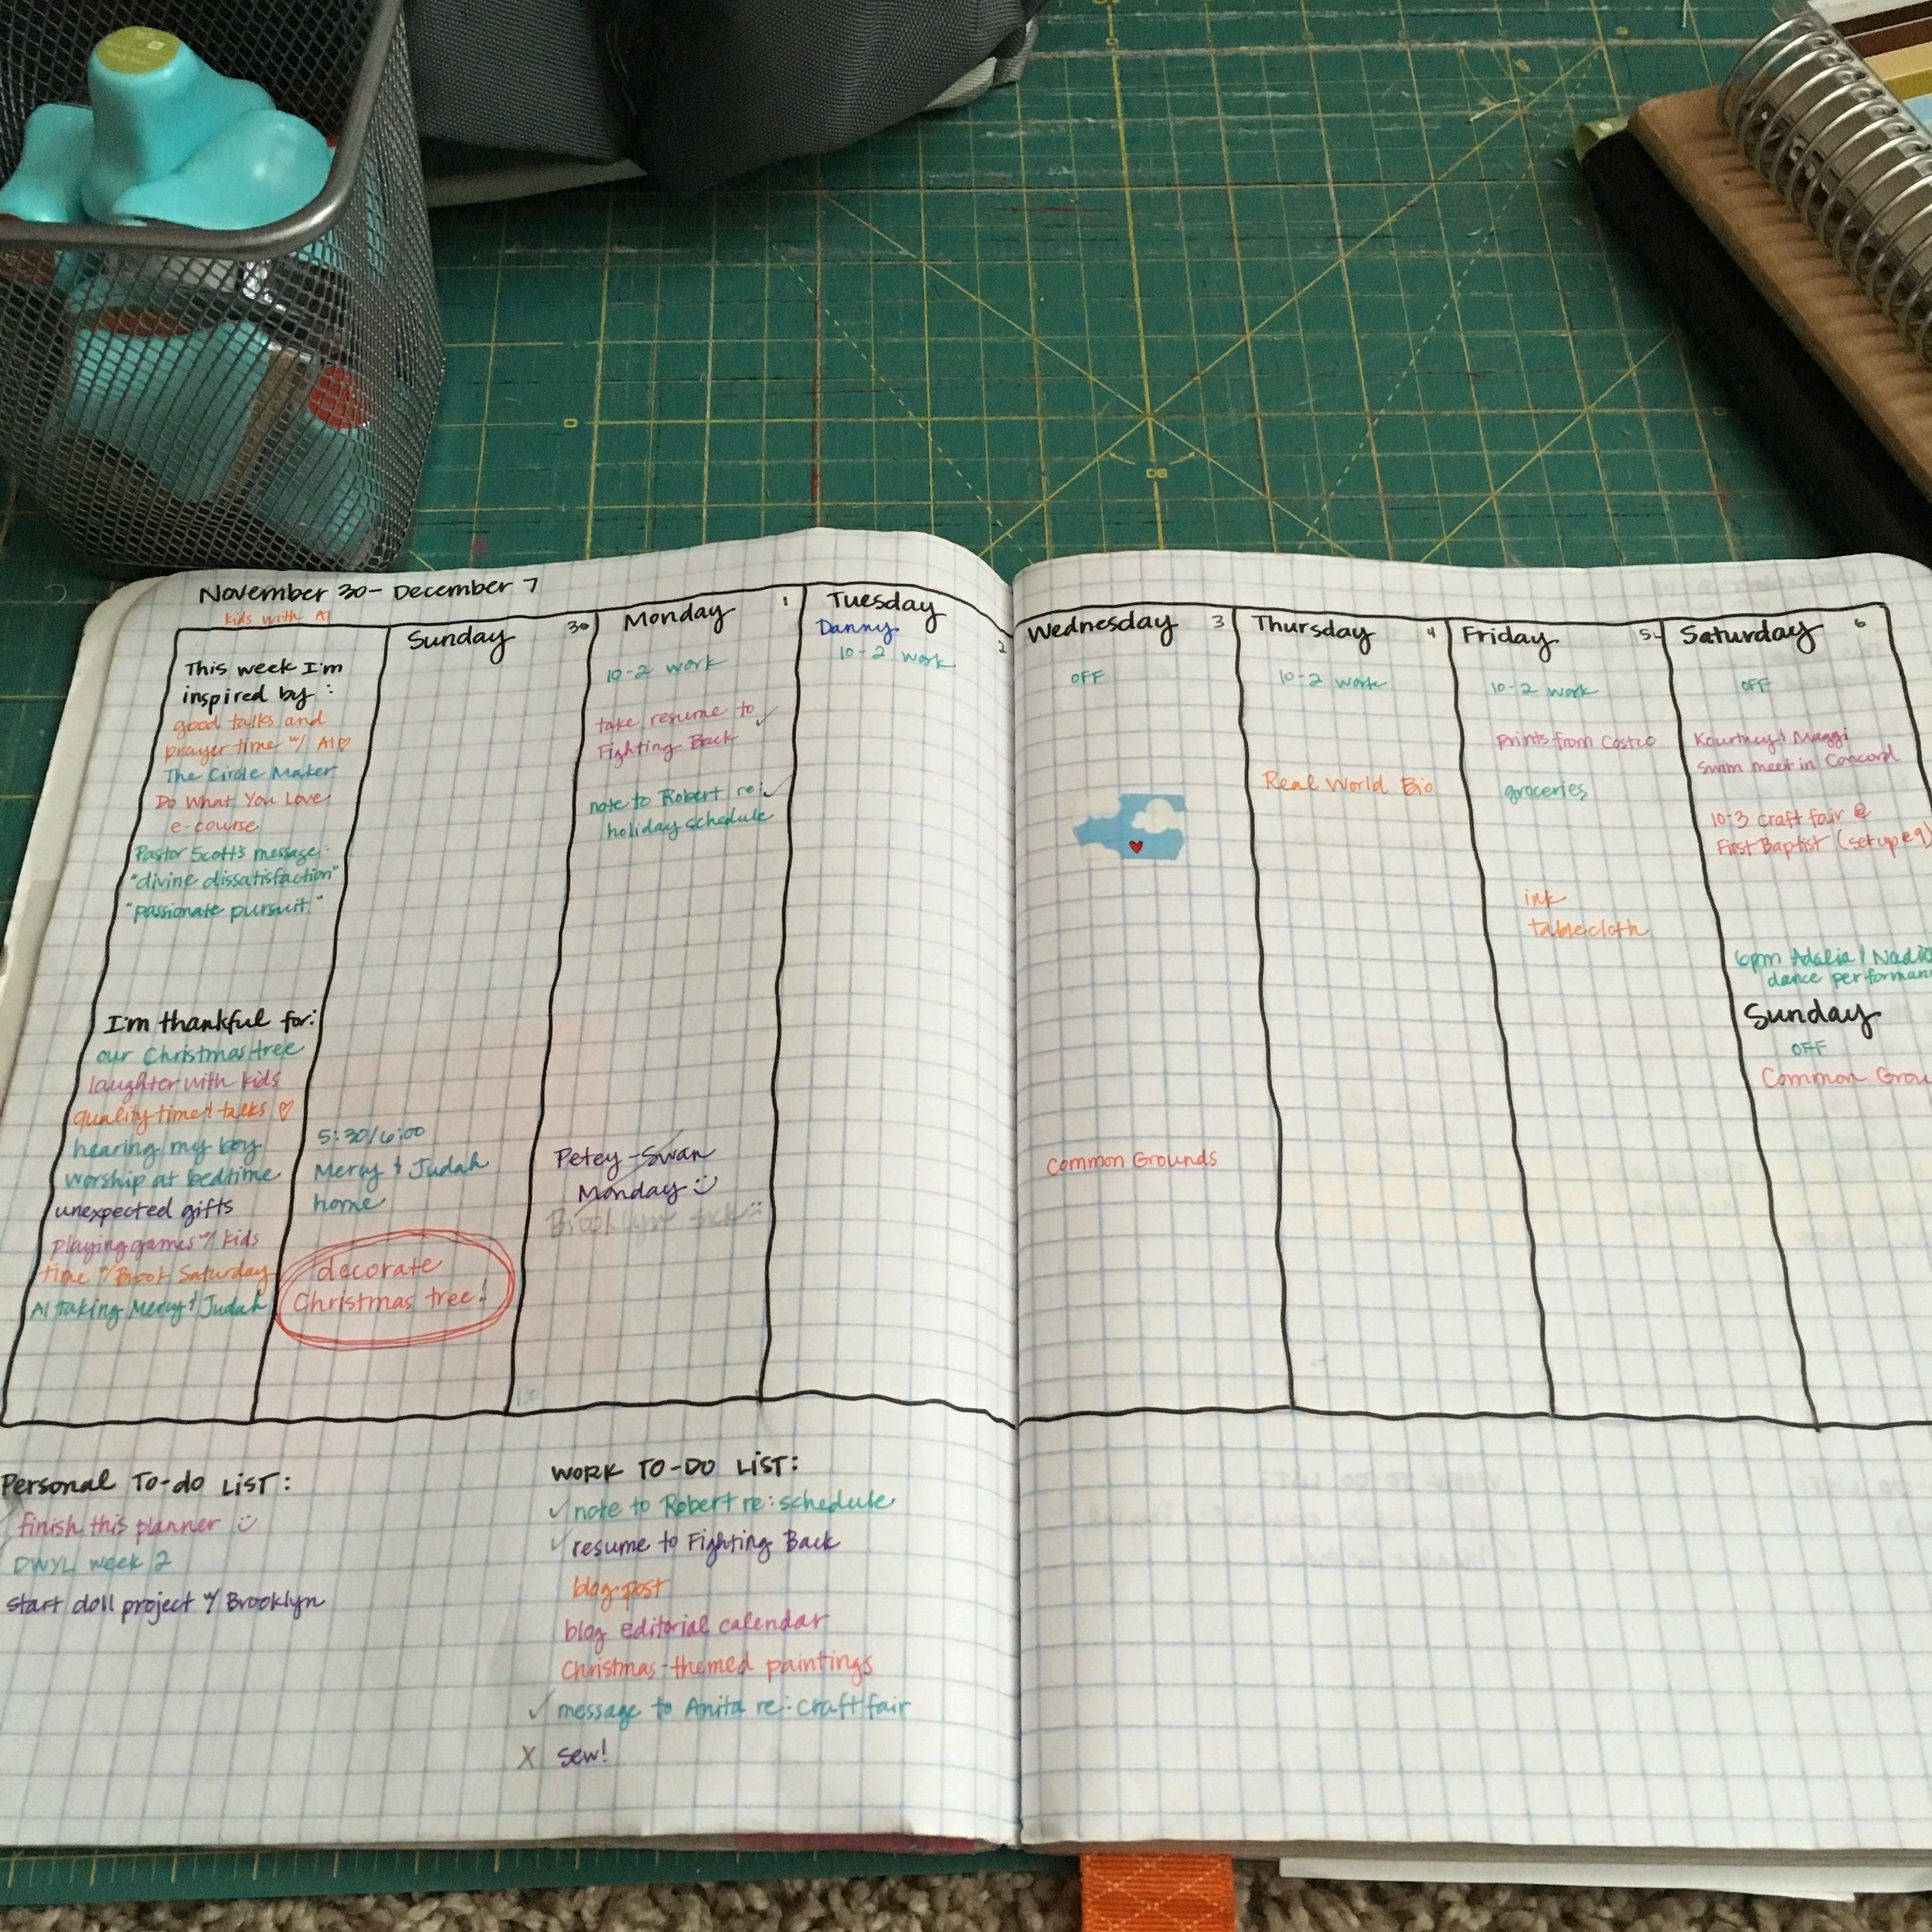
Last year I went back to a DIY planner, made from another graph paper composition book. I really love the size of these, and graph paper is my absolute fave. This time, I dressed up the cover a little, using various papers and some stickers. I brushed over the whole collaged cover with mod podge, which made it much sturdier and more durable. Al and I were reading through The Circle Maker and doing the devotions from Draw the Circle. We declared that 2015 was our year (hence the circles drawn around the numbers on the cover), and we were praying some very specific prayers. I'm happy to report that most of those prayers were answered in 2015. The biggest being that we got engaged last February, and then married in June! It was an exciting year!
After using the Erin Condren planner, I knew that I wanted vertical weekly pages again, so I drew them in. I takes a while when you're doing an entire year.. but I love the look of it, so I honestly didn't mind. Also, because of my previous experience with flimsy, tattered tabs, and because the ones in the Erin Condren planner were so awesome, I cut them out of my old EC planner and used them in this one. They held up great all year! That's a full two years of page turning durability! I'm telling you.. so worth the cost!
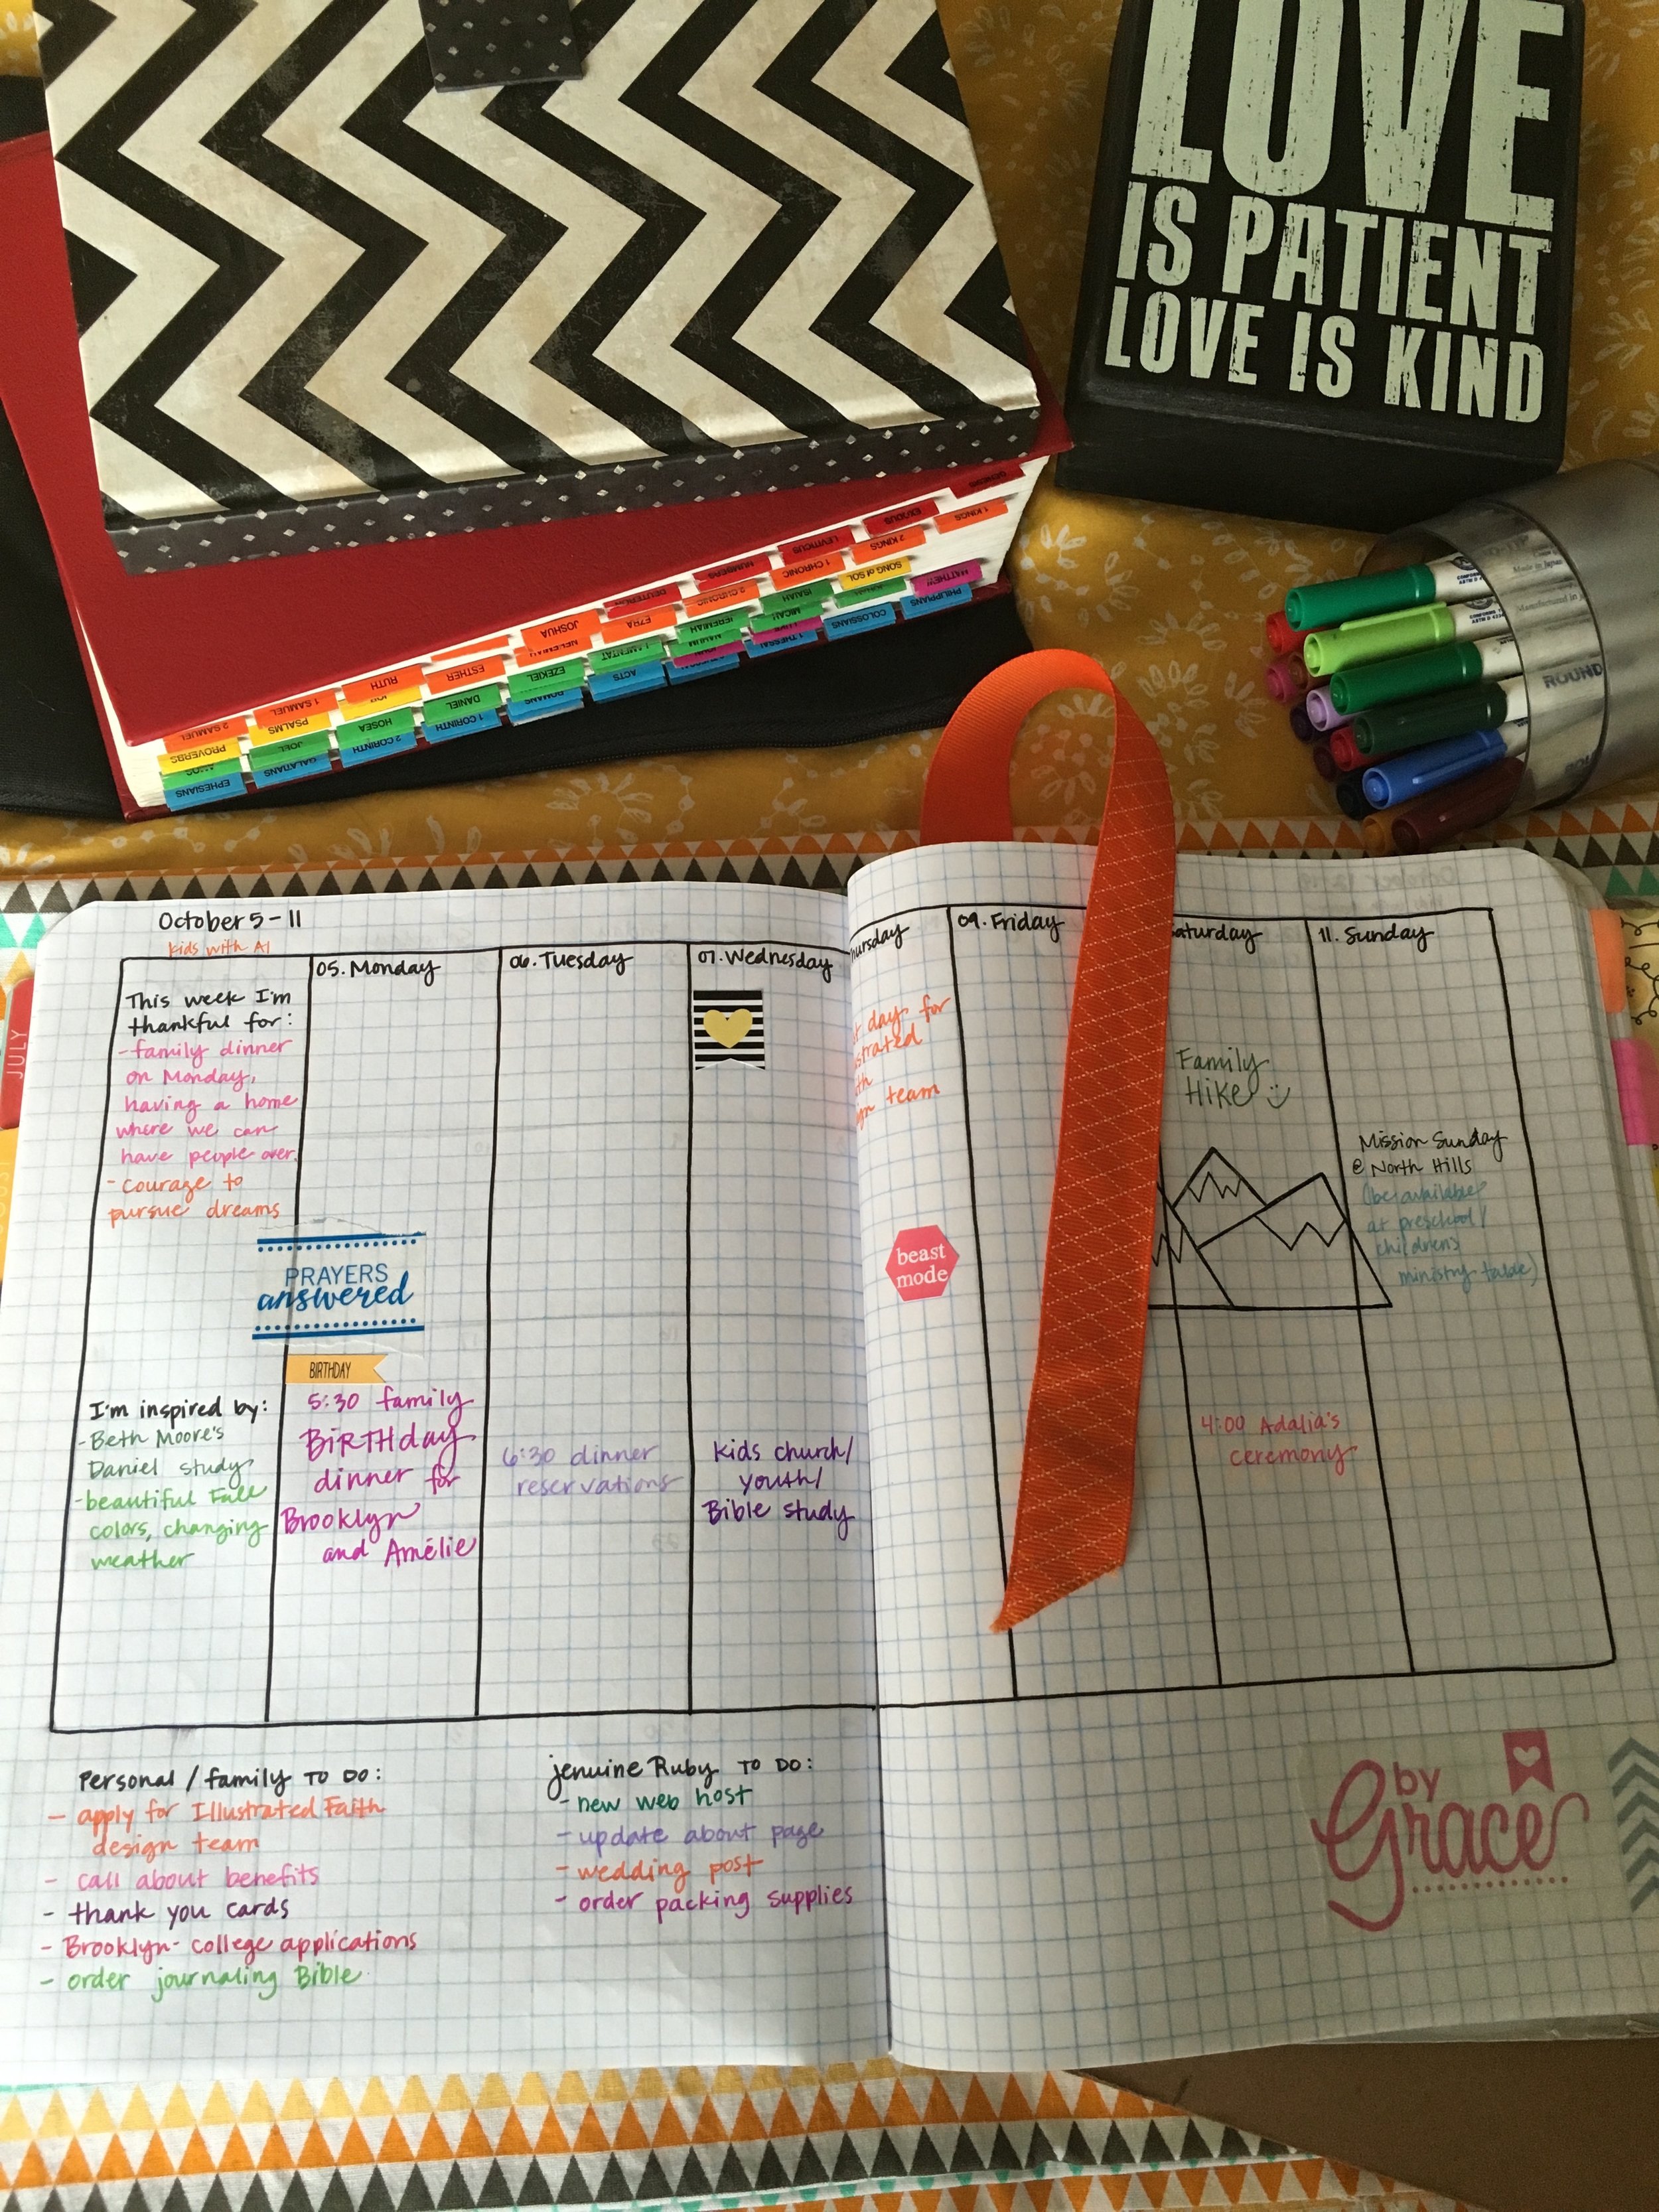
These are some average weekly spreads for me.. minimal decorating, and writing in colored pens. My favorites are Sharpie fine point pens, Stabilo 88 colored pens and Papermate Flair felt tip pens.
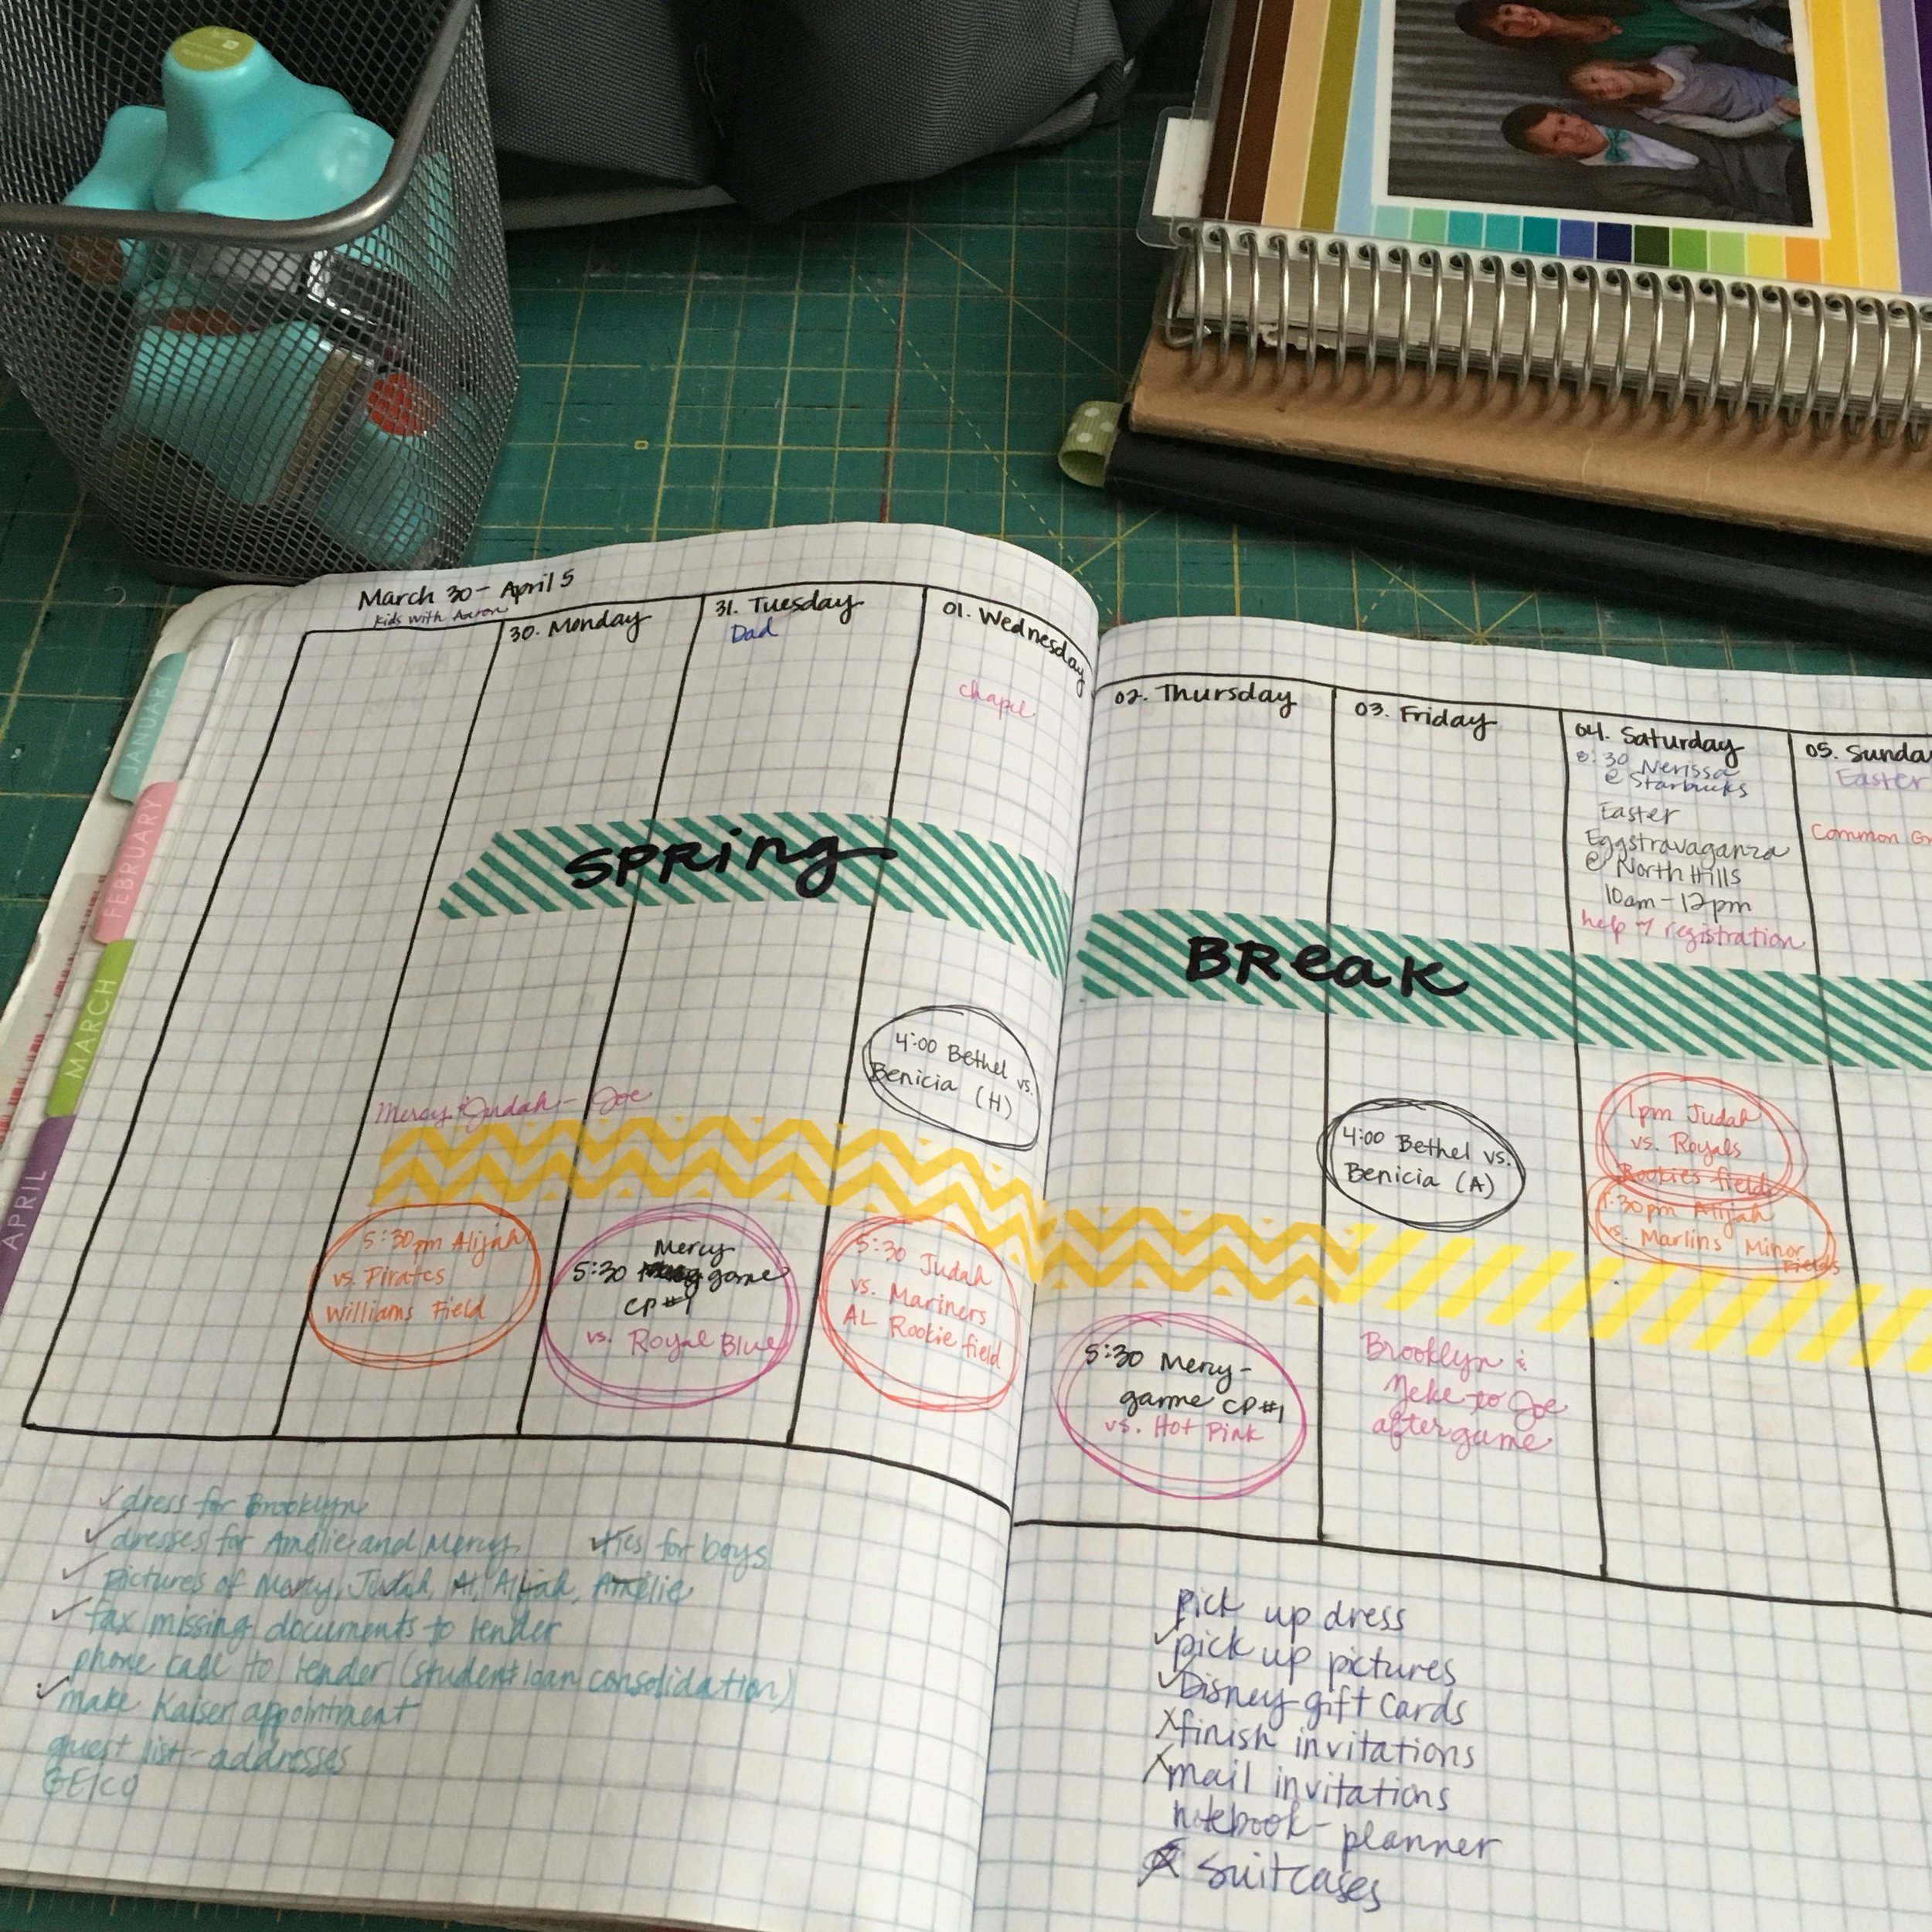
This is last Spring, when baseball season was in full swing! Oh, and we were planning a wedding too! We had two boys playing Little League baseball, one playing girls fast pitch softball, and one playing high school baseball. We were thankful for a daughter with a drivers license, who could help with all that driving! And by this time, all four of our little ones started attending the same school! Whew!
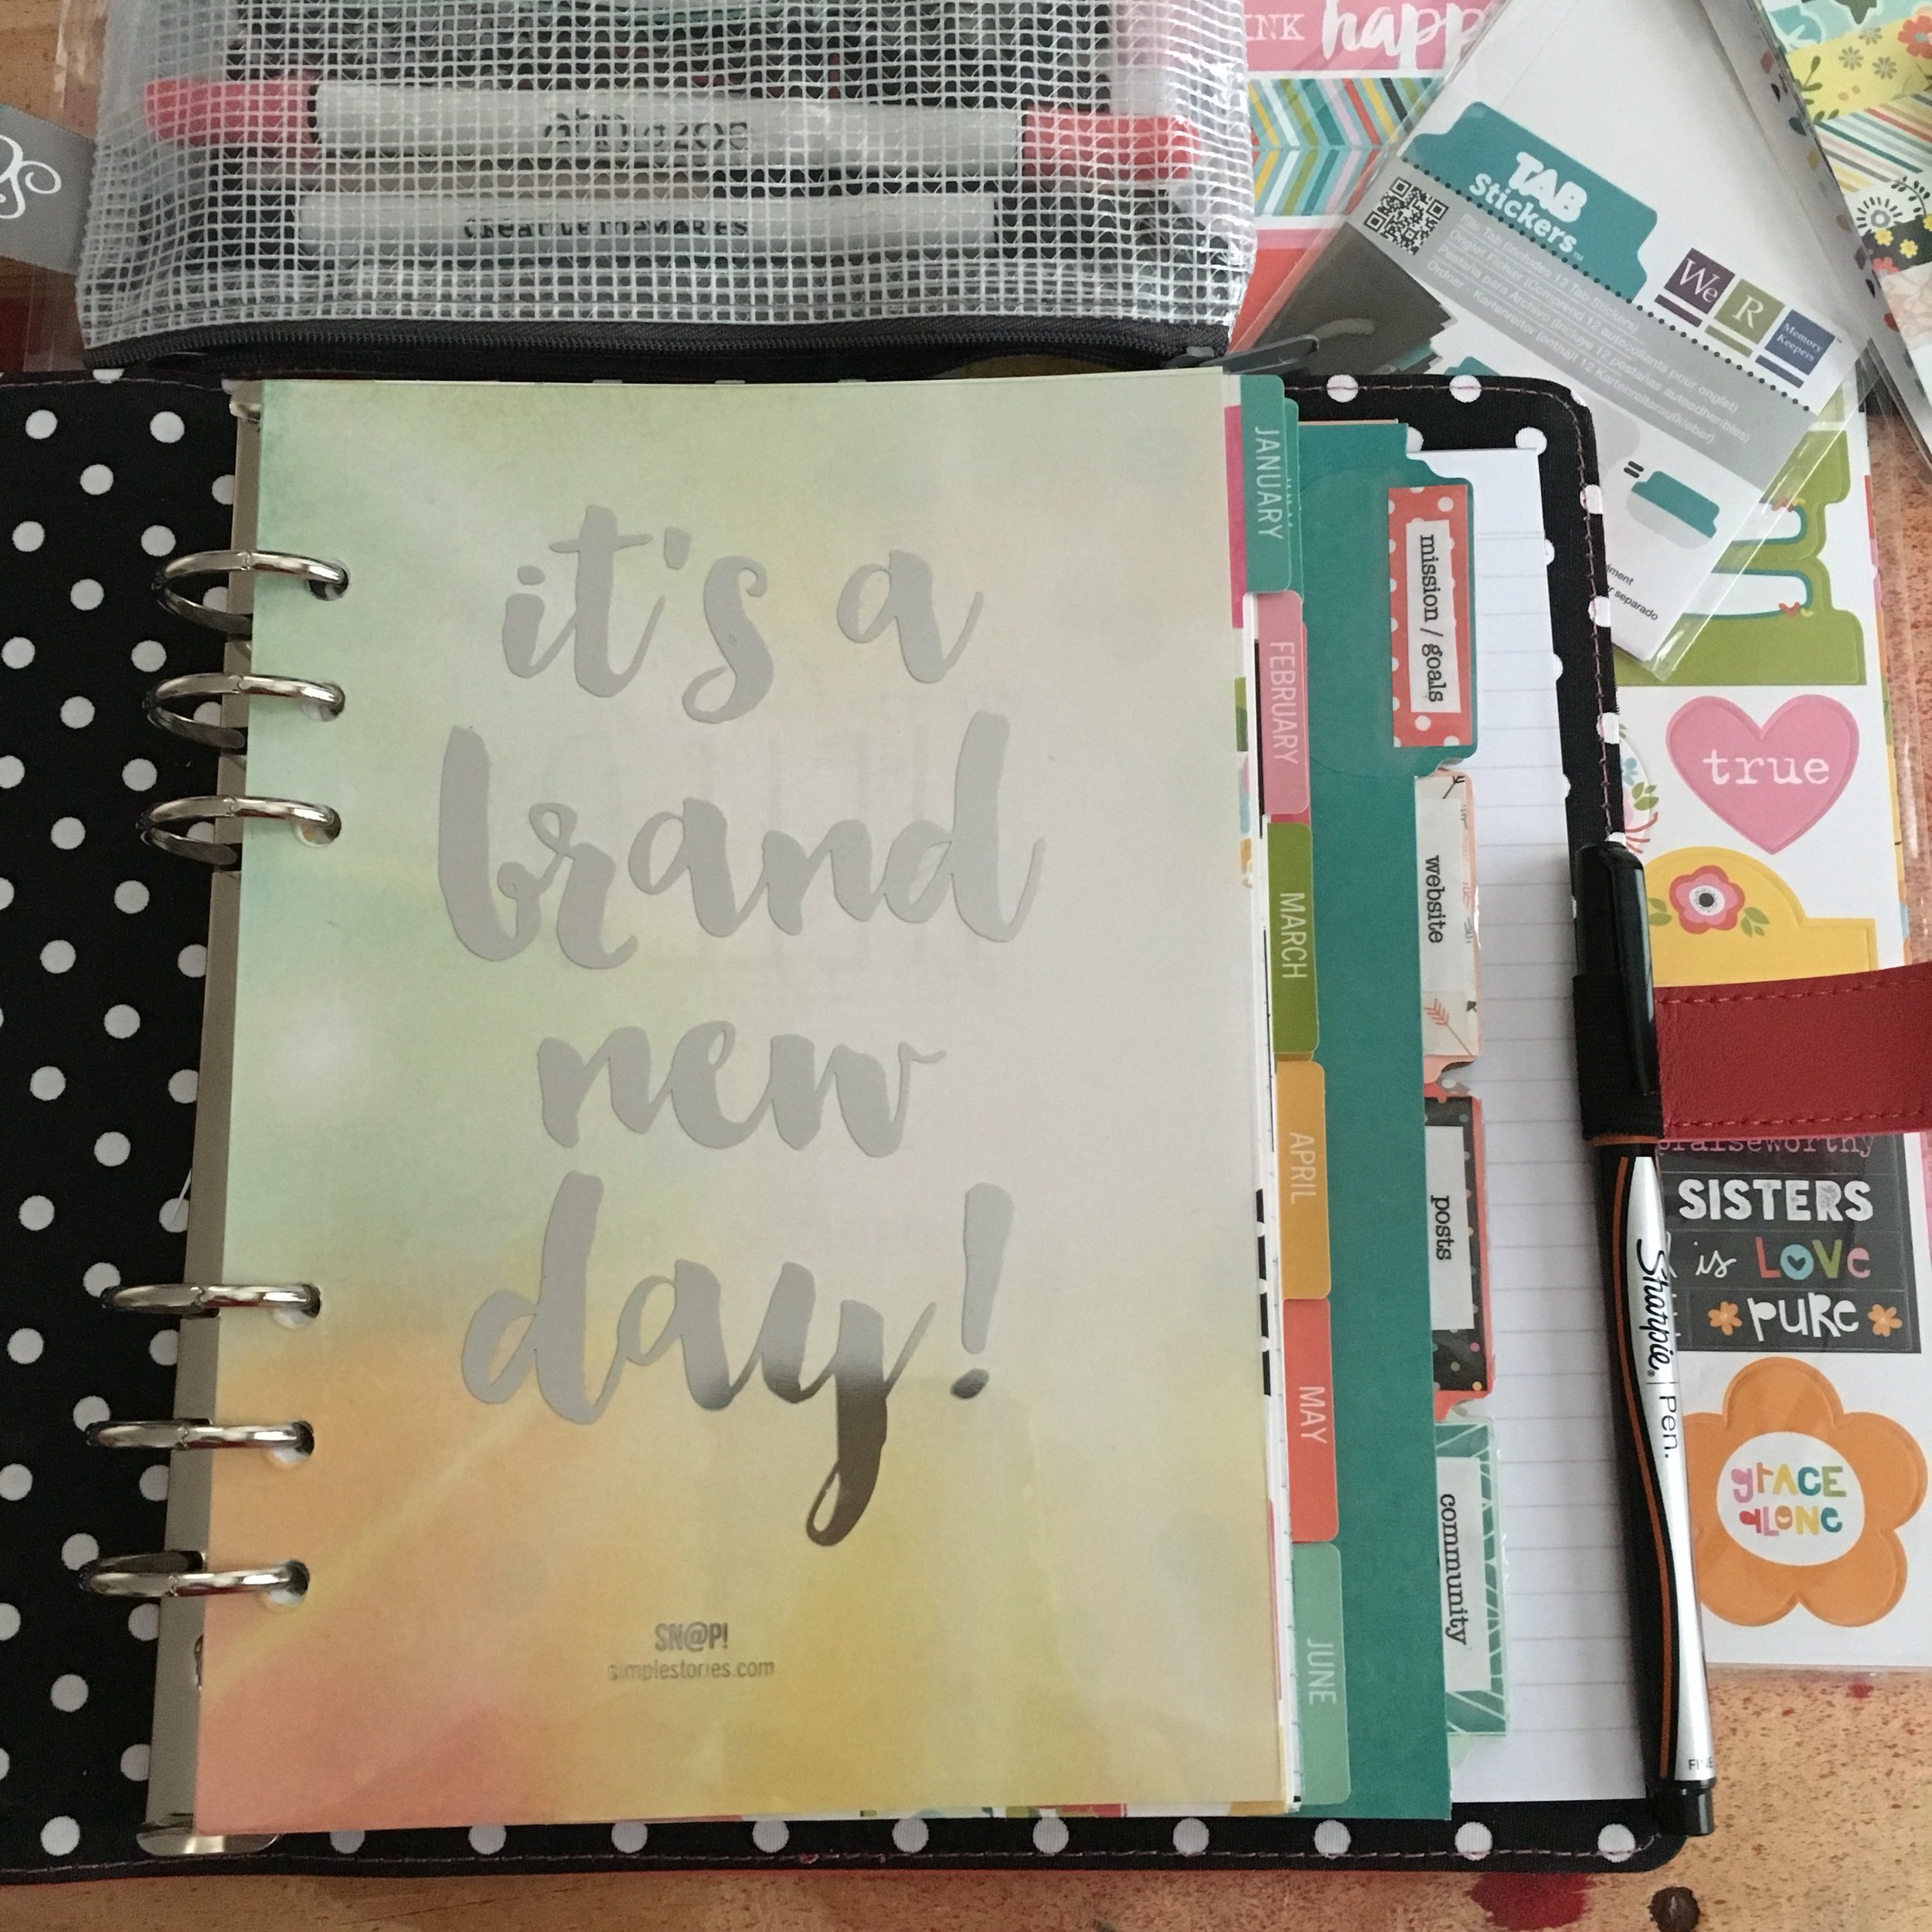
THIS year, I decided to try a ring bound planner. I'm using the Simply Stories Carpe Diem planner. You can get them from The Reset Girl shop. I've become a little addicted to her site. I just love her style, but even more than that.. her heart. She's such a sweet heart and an encourager. I love her tagline and motto: "It's never too late to reset your life." I so identify with her as "The Reset Girl"... someone who intentionally took steps to reset her life when it wasn't turning out the way she expected.
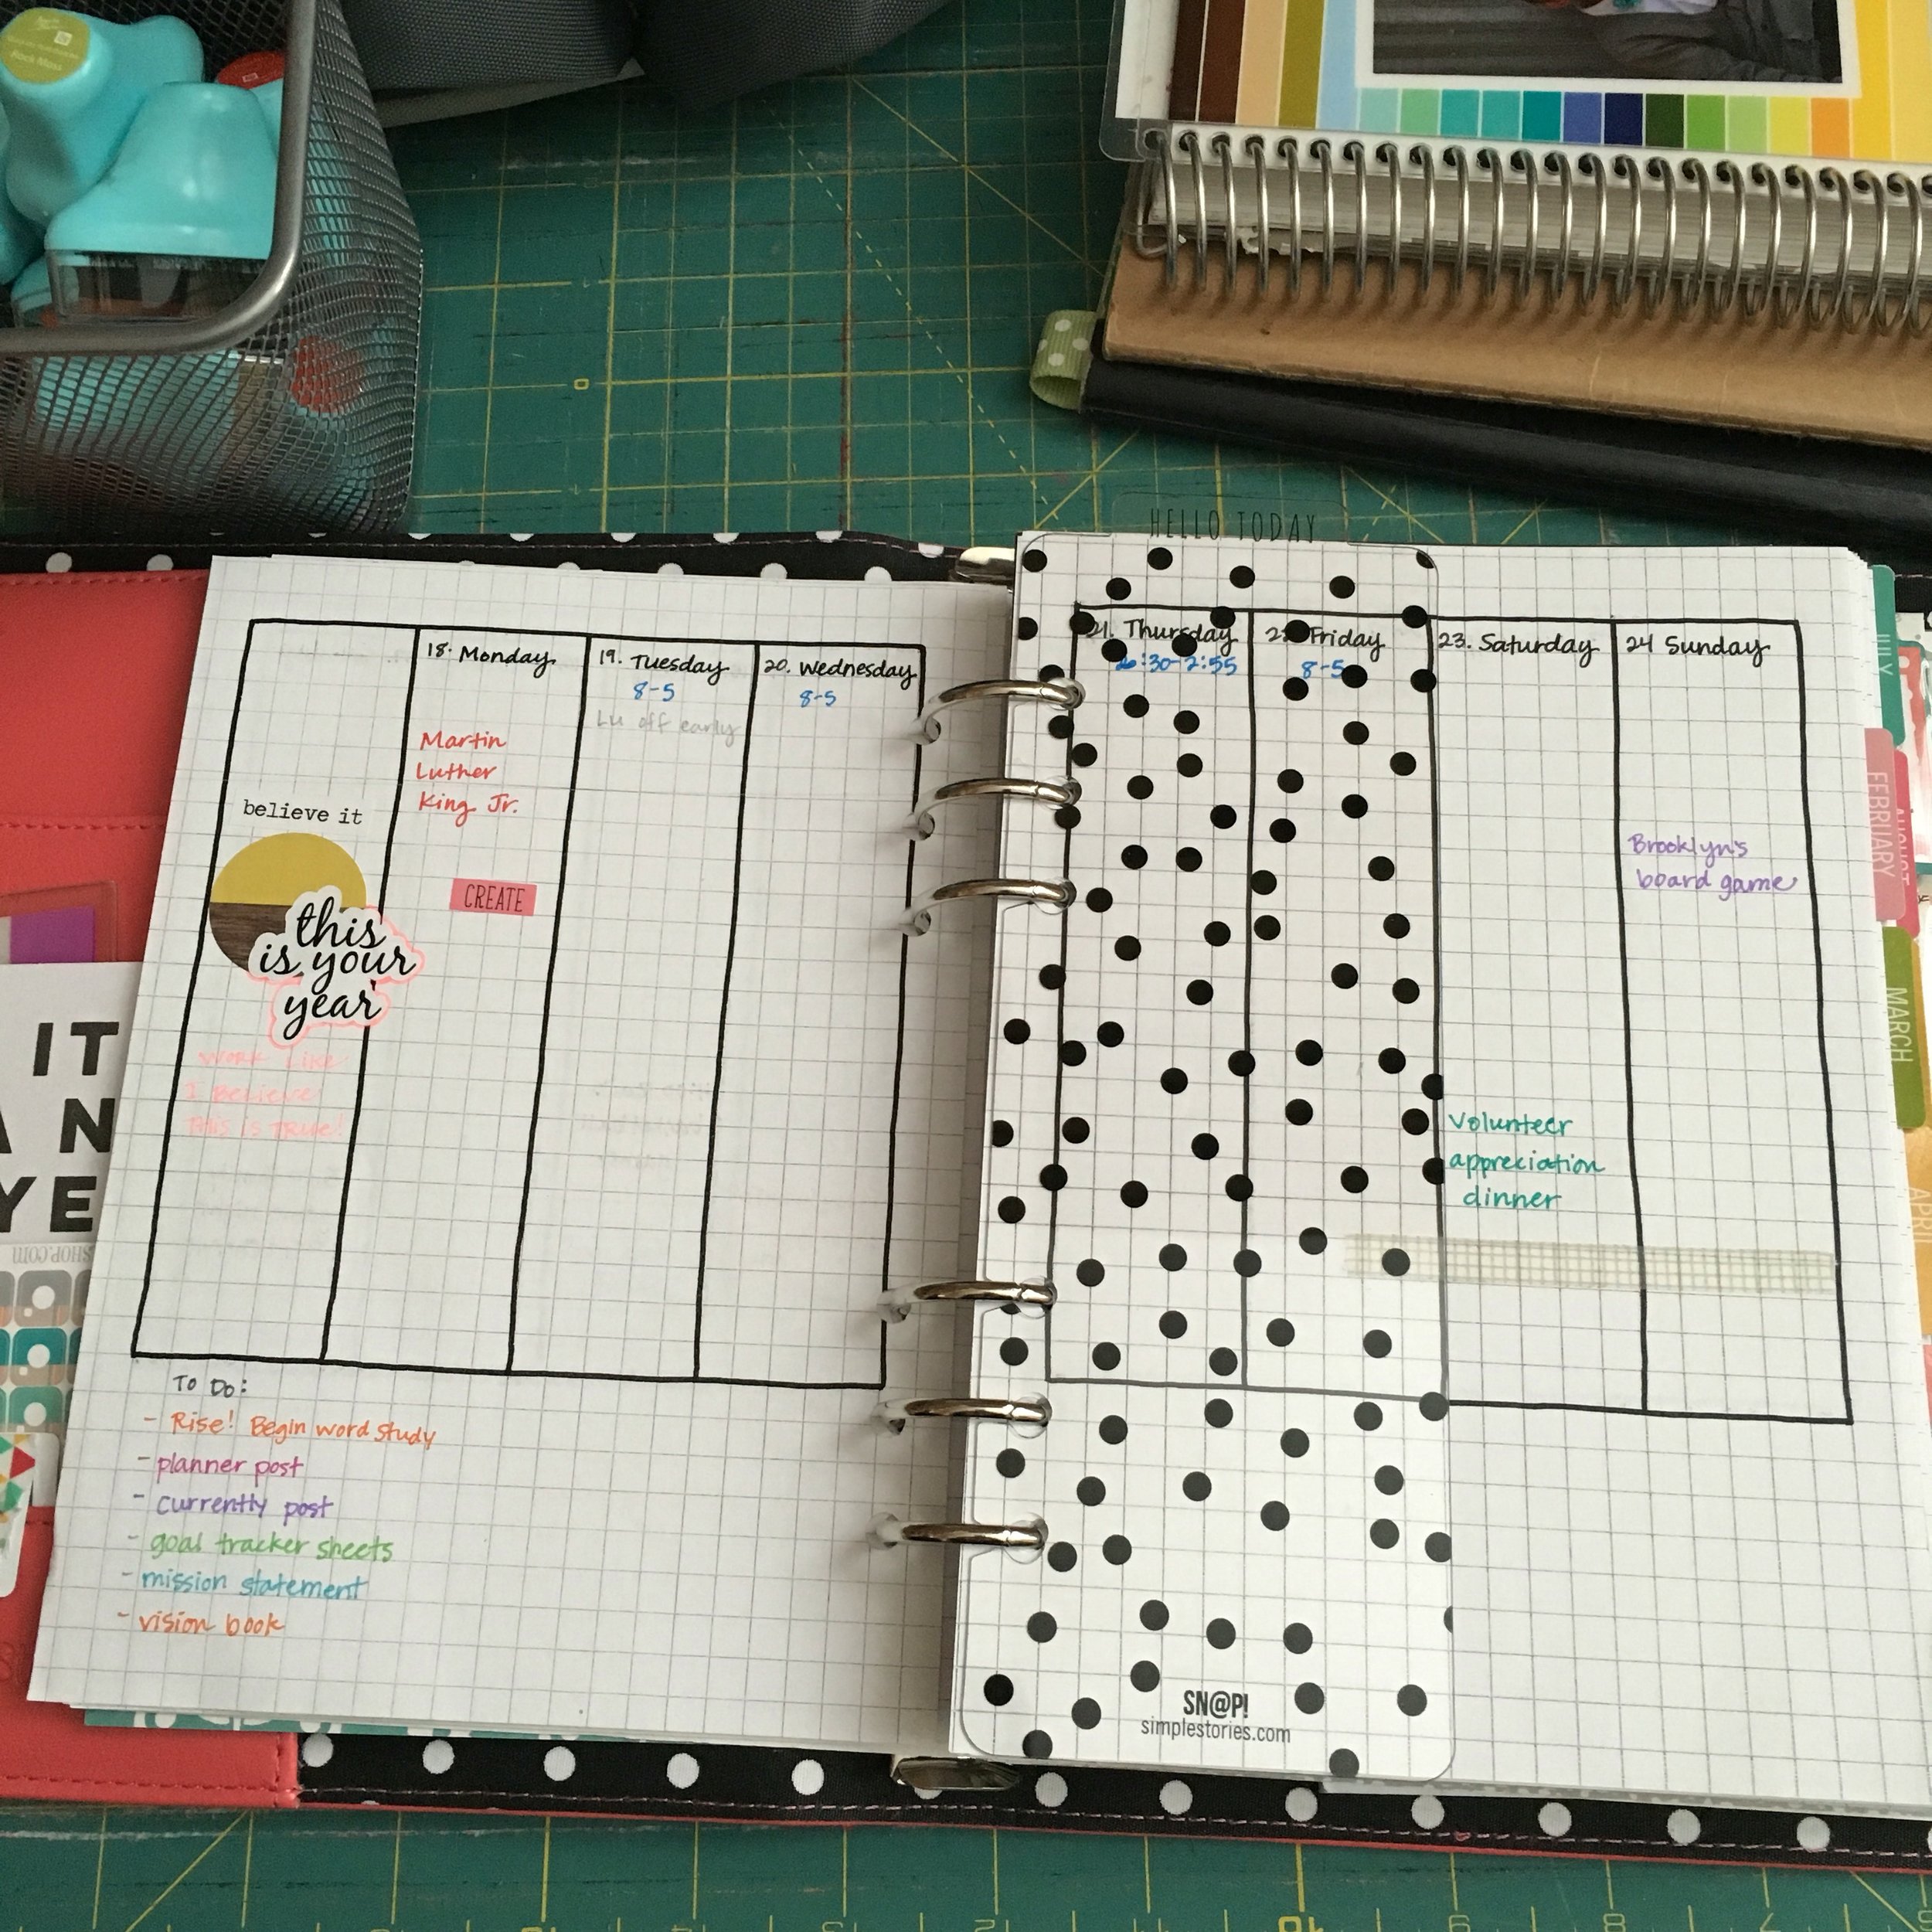
The stickers here are from her shop, as well as the bookmark. I decided to make my own weekly page inserts. I definitely prefer the vertical layout, and have grown attached to my hand-drawn columns on graph paper. There is a vertical weekly spread you can download and print from the Simple Stories site, but personally, I prefer the extra space at the bottom of the page for notes, to dos, quotes, etc. To make my inserts, I simply drew the columns on grid paper and printed them on both sides of the paper. (You can do this at home.. I opted to take them to Office Max because it was simpler, faster and pretty reasonably priced since I just needed black and white copies. I wrote the days of the week before copying, and filled in the dates after. I decided not to write in things like "To Do" or "This week I'm thankful for..." because I figured I can add those as needed, and I may change my mind about what to write in the extra spaces, and wanted to have room to mix it up now and then.

I already had the "I Am" journal kit from Simple Stories, which worked great in my Carpe Diem planner. I just trimmed down the pages a little and made some dividers out of some scrapbook paper that I had on hand. I reinforced the tabs with tab stickers I found on Amazon. They're made of a thick plastic and seem to be pretty sturdy. I decided to leave the dividers in the back sections a little bigger than the monthly dividers, and I love how it turned out. This is basically my info central for everything. In the planner pages, I keep track of family events as well as work and to dos for my creative work. The sections in the back are already filling up with goals, timelines, notes, etc. I'm really loving this system so far. Part already done, part DIY, all functional, inspirational and cute!
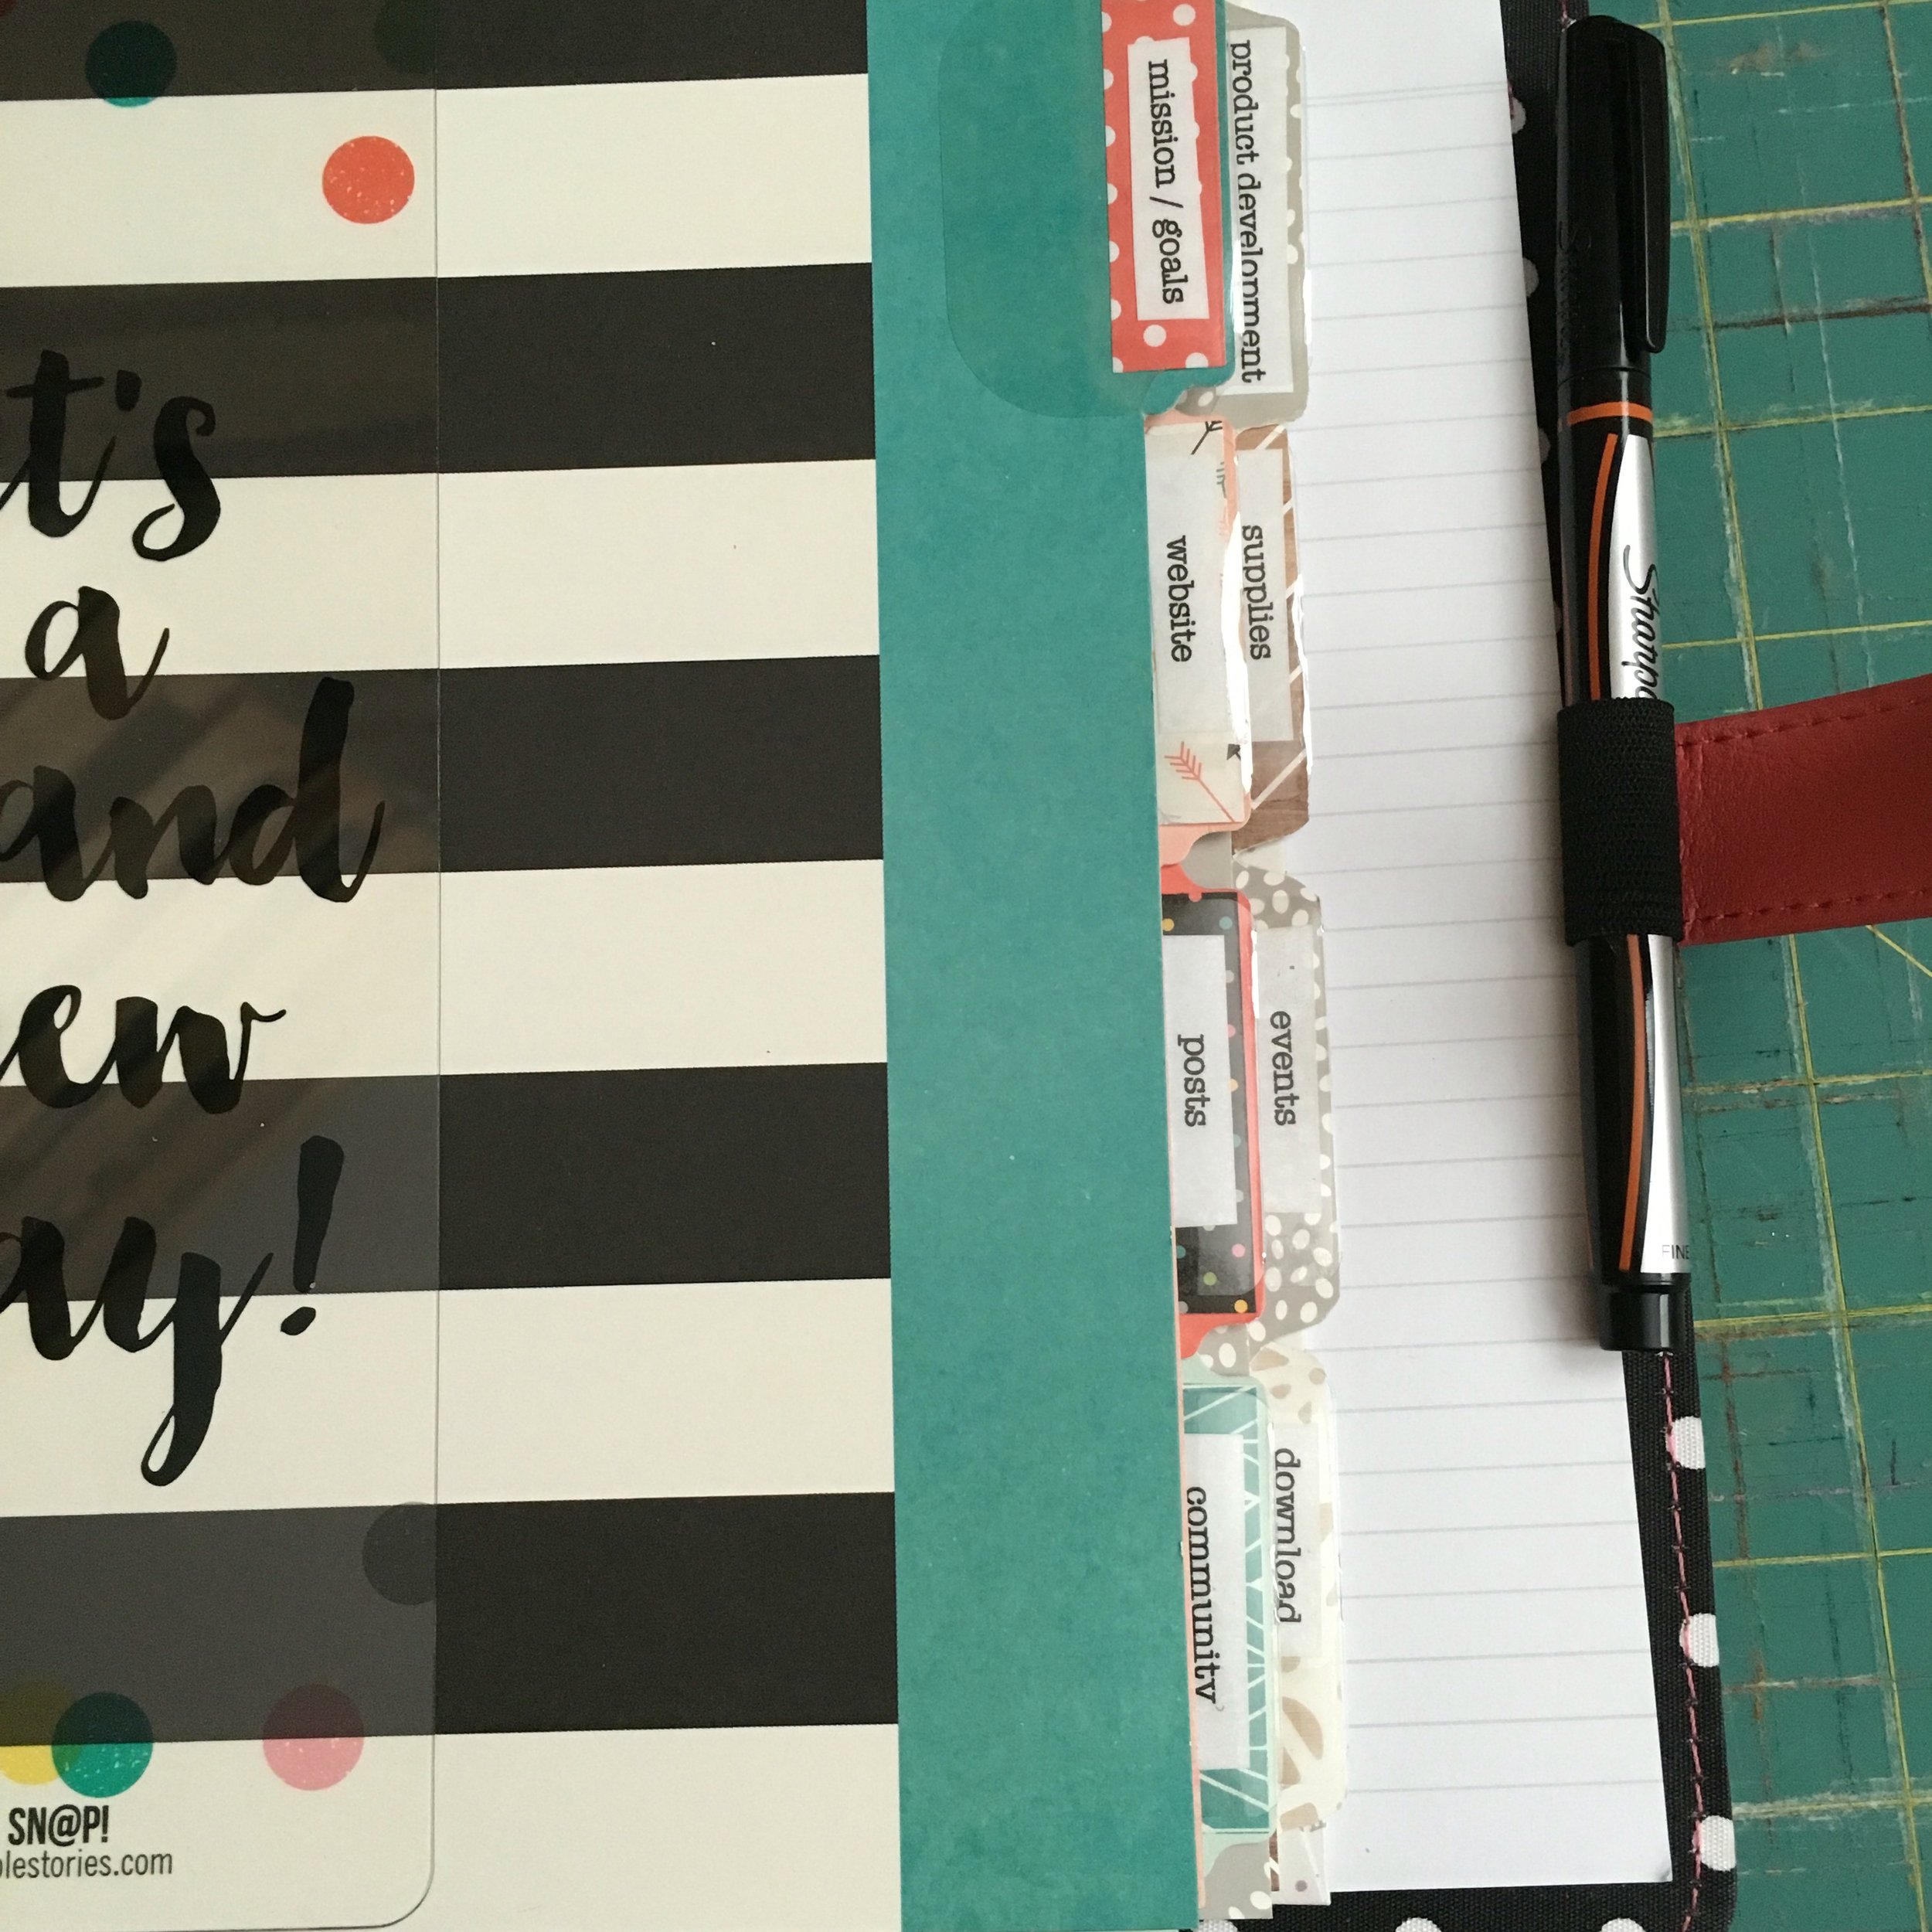
You can see here the titles of my sections.

I really love this so much. The colors, the sections, the durability, the possibility and all the goodness that it holds.

I'm planning a great year, one week at a time. I love seeing others' planners and how they're set up, what works and what people are including. If you have one you'd like to share, please post a link in the comments!
Disclaimer: some of the links in this post will take you to products on Amazon. These are products that I use and really love. I have an affiliate account there, so any purchases made from these links will result in a small profit for me. Thank you! I do not have affiliate accounts with Erin Condren or The Reset Girl Shop.. I just really love their stuff and think you will too! :)
